
This article was originally published on June 15, 2021 on The Restless Viking website.
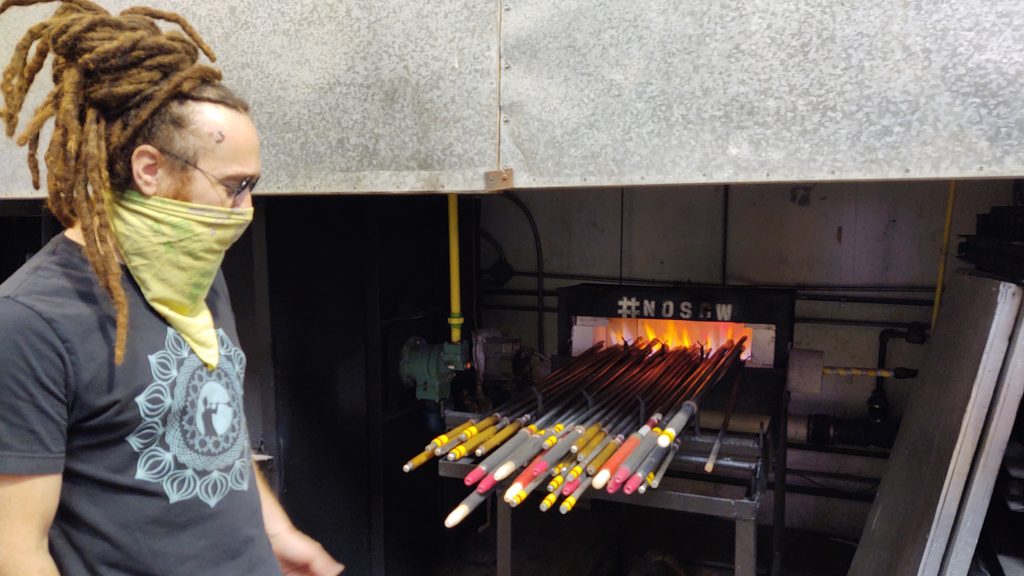
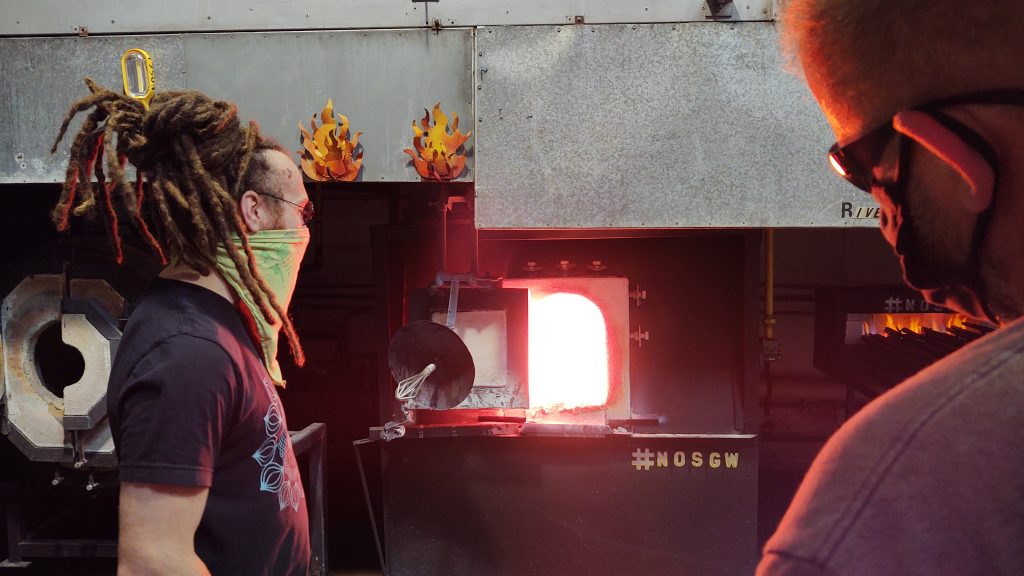
The clank of metal rods chimed a greeting as we walked into the steamy air of the glass making studio at “Glassworks and Printing” in New Orleans. The roaring furnaces spewed out immense heat. We were about to learn the secrets of blowing glass!
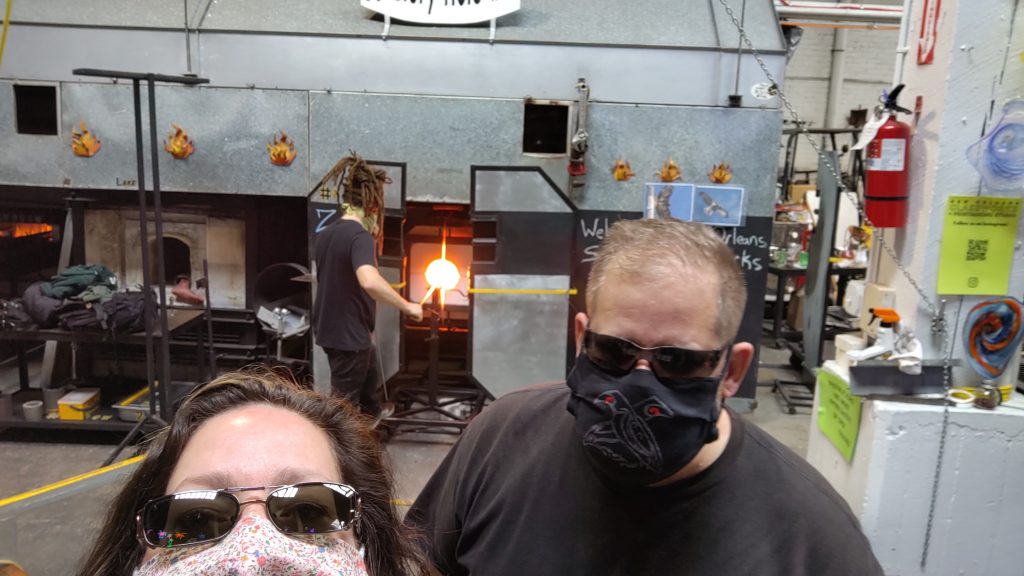
Sunglasses are a requirement as the infrared and ultraviolet light could cause eye damage over time.
Yes, you see a Halloween foot hanging out of the cold furnace on the left.
Seeing the Halloween foot hanging out of the middle furnace, we were ready to blow some smoke and blow some glass with Zach!
Why did we choose to take a glass blowing lesson?
Blown glass art has fascinated me since fourth grade when our class visited Greenfield Village near Detroit. Greenfield is a 1900’s village containing many era shops with actors conducting business. As fourth graders we were able to observe the 2,000 year old art of glass blowing. I was hooked.
A few years later (my early 20’s) I had traveled to Europe with a backpack. I sought out a tour of the Waterford Crystal factory in Ireland. I had hoped to be one of the volunteers called on to help during a demonstration. This didn’t happen, but I continued my awe for this artform!
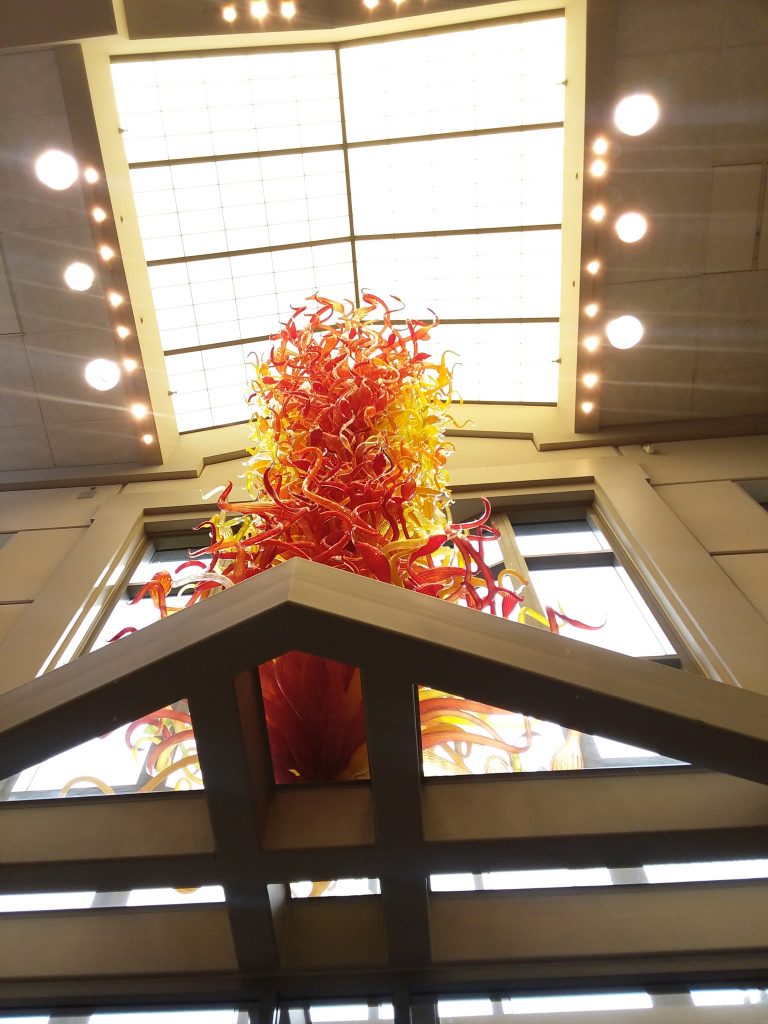 This blown glass piece is a Dale Chihuly installment in a Seattle building.
When my hometown held an exhibition of Dale Chihuly’s blown glass with installments throughout Meijer Gardens I was entranced. Fredrick Meijer Gardens in Grand Rapids, Michigan features sculptures, gardens, concerts and a children’s play area. There are Chihuly pieces displayed in their cafeteria and for sale in their gift shop.
Then in 2019 while visiting my friend, Anita, in Seattle we toured the Chihuly Museum. I marveled at his colorful creations!
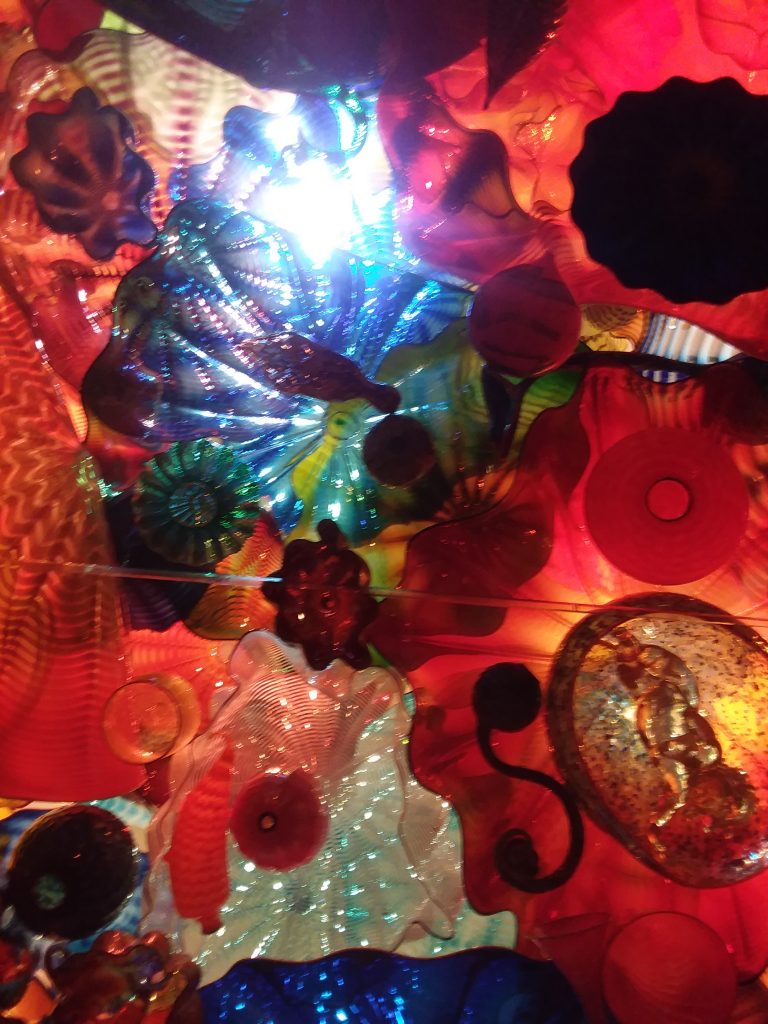 These Chihuly pieces covered a vaulted window allowing the sunlight to shine through the colorful art.
I highly recommend touring Dale Chihuly’s art museum in Seattle.
Our Glass Blowing with Zach
At nine years old I knew I wanted to try blowing glass someday. Well, my favorite Viking made this dream come true! Along with Zach, of course! Bending over glowing, molten glass and forming it into shapes would be a thrill! Now, here we were, ready to blow glass! My excitement bubbled!
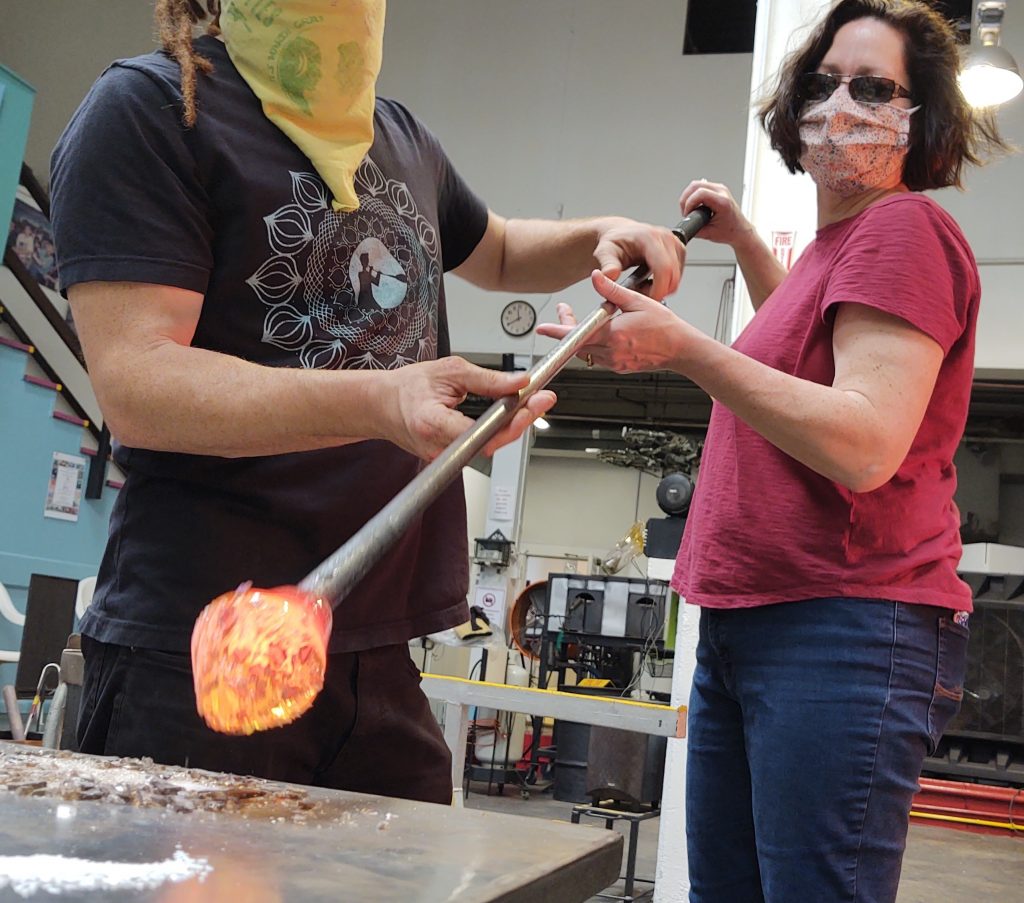
 The rods must be heated so the liquid glass will adhere.
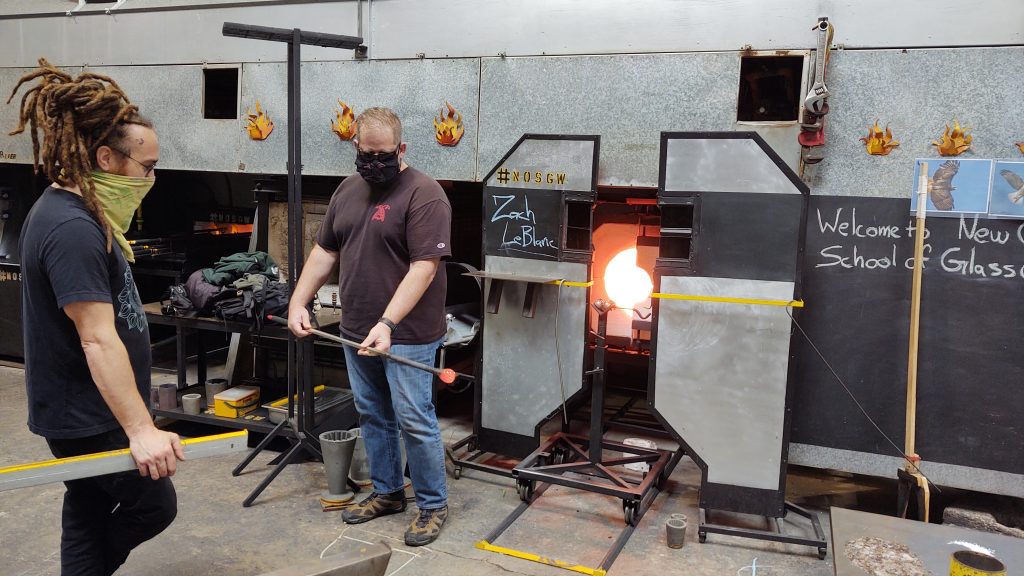
Zach LeBlanc
Zach LeBlanc, our personal glass blowing instructor, dazzled us with his abilities and his passion for this artform! His dedication and passion has earned Zack this position at Glassworks and Printing in New Orleans. After our introductions he started with a demonstration, explaining each step. Then he guided us in making our pieces: a votive, a whiskey glass and a wine glass. Can you guess who chose to make a whiskey glass?
Zach had always been interested in glass-sculpture art, but had lacked funding for classes. His mother supported Zach’s desire, but as a kindergarten teacher, extra money was rare.
One day while visiting his girlfriend, a bartender, Zach made a connection that would change his life! The pub had been buzzing with customers, so she asked Zach if he could listen to the guy at the end of the bar. This guy had a lot to say and she had a lot of other people who needed drinks. So Zach introduced himself to “Sparky” (Tim), a glass artisan, and the rest was history.
Zach was given a job as the ‘studio tech’ and helped keep the area clean and the tools organized. Zach conducted himself with fervor. He harnessed this opportunity. Over eleven years he has apprenticed and learned this craft masterfully. Zach expertly instructs his students, such as the two of us, who were complete novices.
The Demonstration Paperweight
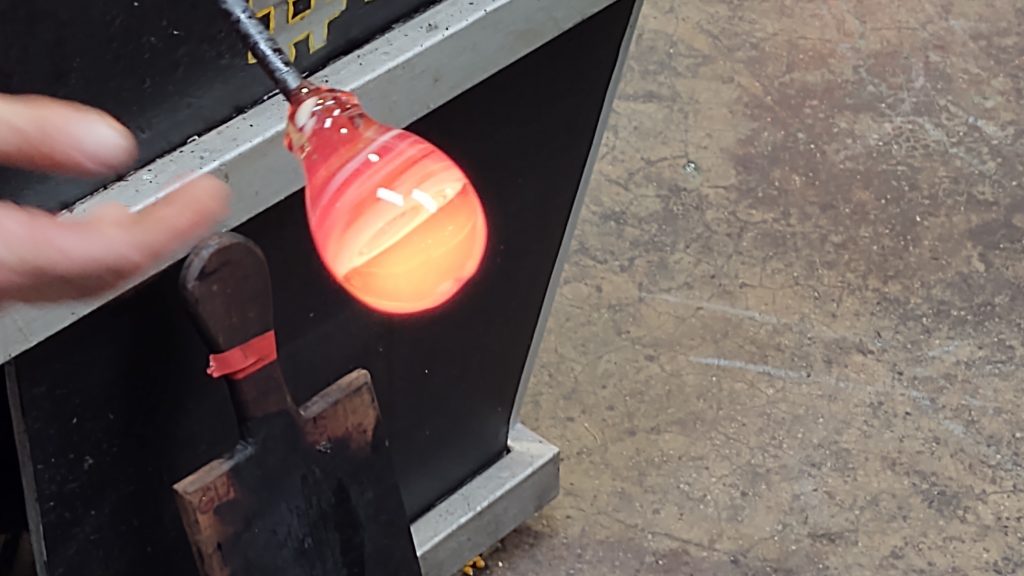 Zach demonstrated the process by making a paperweight. He explained each part step by step.
As Zach exhibited each portion of the process, I became intimidated. Would I shatter my piece on the cement floor? Or would it drip off the end of the rod making a puddle? Zach must have sensed my hesitation. “Don’t worry. I know this is a lot to take in all at once. I will be right here guiding you with each part.” He spoke in a confident, casual way that made me feel more at ease.
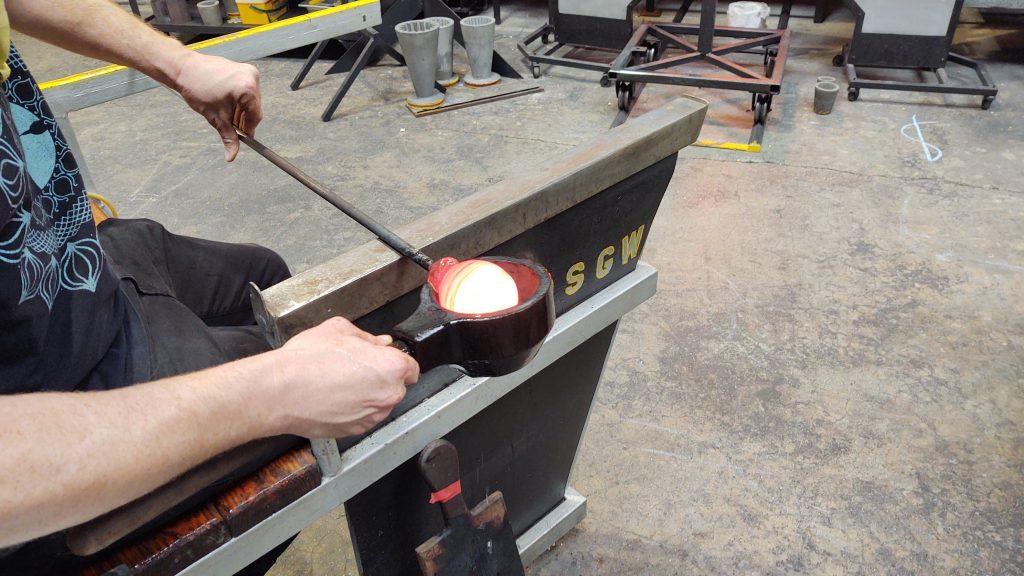 Zach was giving the paperweight it’s spherical shape using a wooden ladle-type tool.
Instead of actually “blowing” into the rod, Glassworks and Printing Shop uses a pump with a foot pedal to insert air into the tube. This is a Covid-safe way to make blown glass.
Then, it was time to start our projects.
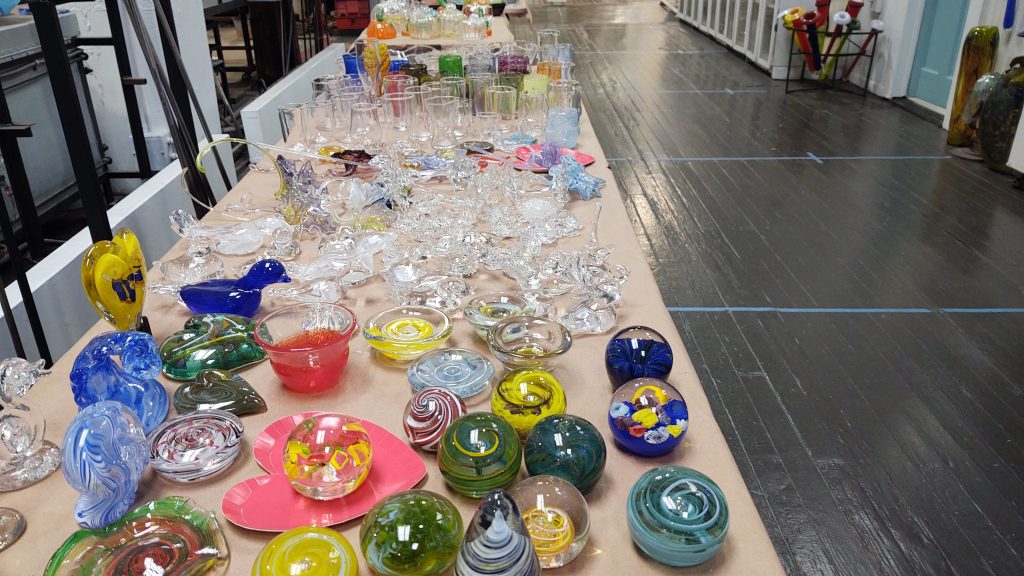 These pieces were displayed so we could see samples and choose the colors we wanted to use.
What would you choose?
The pieces held a magical, icy look on the table. They seemed complicated so I asked, “Which is the easiest to make?” Zach was encouraging, “Whichever you’d like.” I pointed to the maroon and white flat piece next to the two blue ducks at the left. It was a votive for a small tea light. “I’ll make a whiskey glass!” Chuck was definitive. I raised my brow, “I could make a matching wine glass.” I decided with a nod.
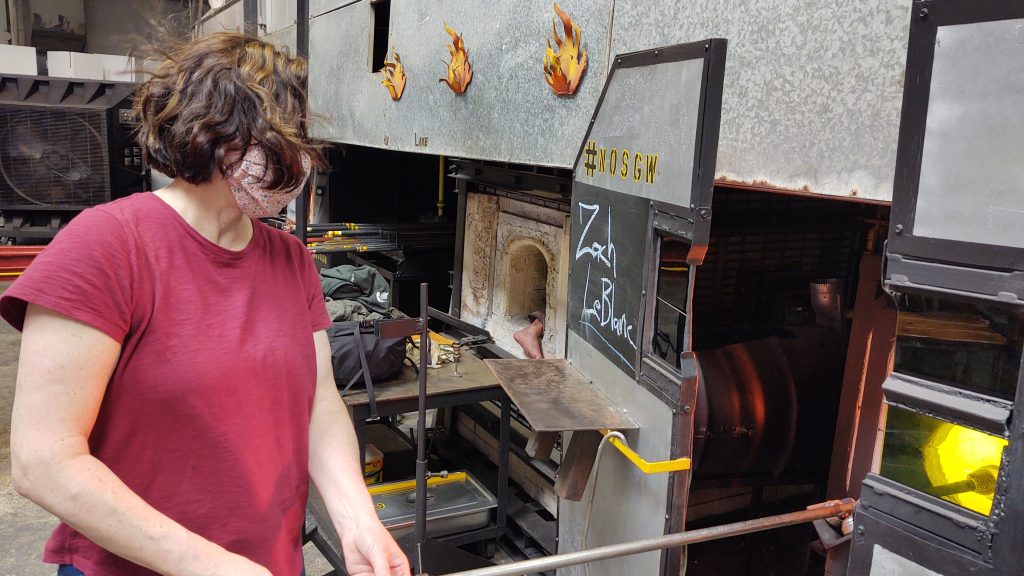
Gathering the Glass
 The first step is to ‘gather’ some molten glass from the bottom of this kiln.
This kiln (oven) holds liquid glass at the bottom. It takes seven days for this kiln to reach the needed temperature and seven days to cool down. So it is left running all day and night. It is kept between 2,000 – 2,400 degrees Fahrenheit. Zach did all the ‘gathering’ of the glass for us. Then, he handed the rod over to Chuck. “Keep turning it.” Zach instructed.
 Chuck is turning the rod so the gooey glass stays symmetrical.
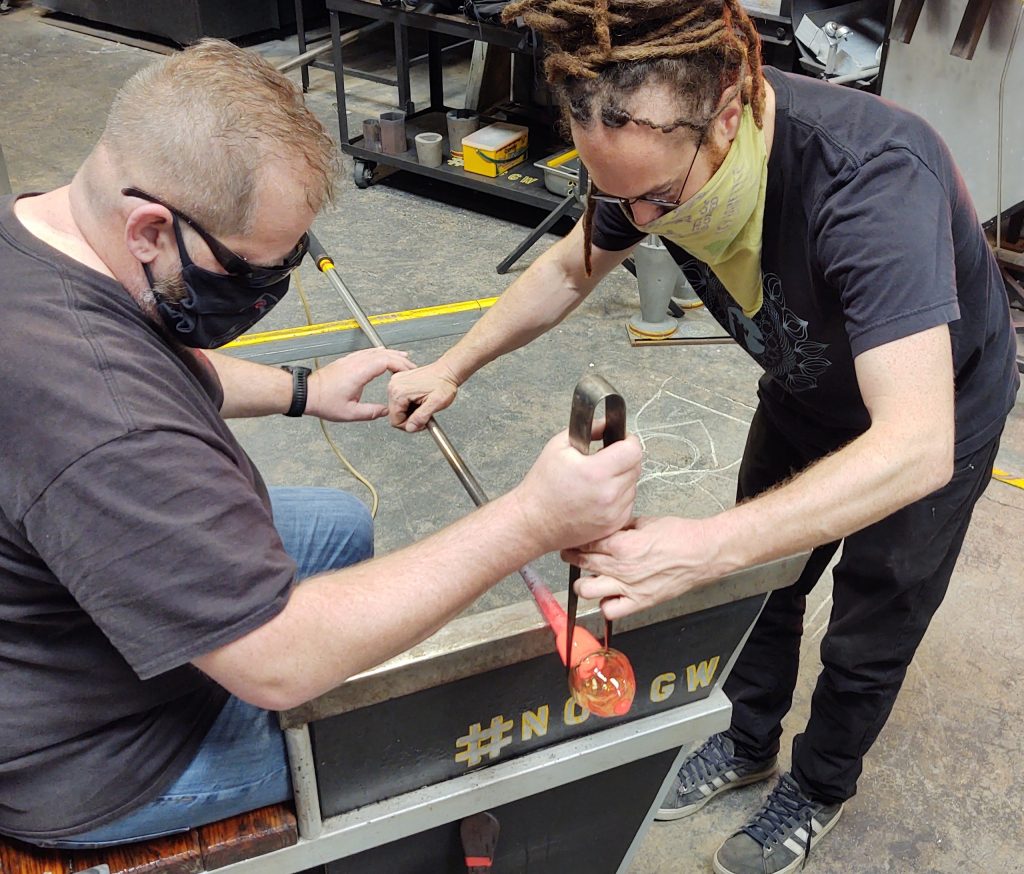
Behind Chuck was the heating furnace, called ‘The Glory Hole,’ which is repeatedly used to heat the glass.
Keeping the glass pliable (around 1,500 degrees F) is a delicate balance of heating and cooling. When the ball of glass started to turn yellowish, the bulb of hardening glass needed to be reintroduced into this ‘glory hole’ furnace for heating. Then we could continue forming it into the desired shape.
 Reheating the glass keeps it pliable, easier to shape and add on glass decorations.
Even with Zach’s careful guidance, I touched the rod too close to the end and singed my finger. I am known for being impulsive and clumsy. I joke that my parents should have named me, “Grace.” This tiny burn didn’t stop me from continuing my creation!
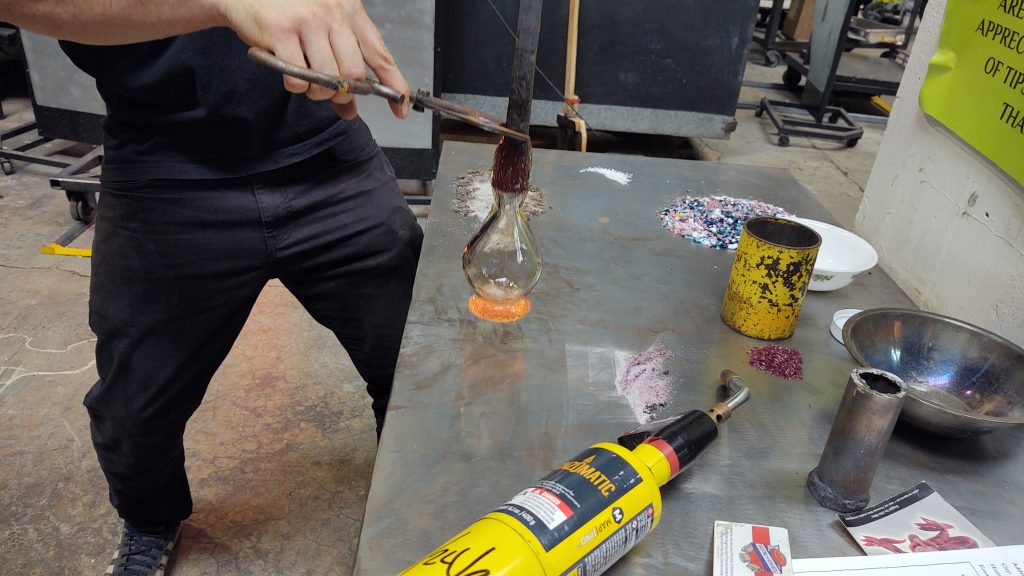
Adding Colored Flecks
Chuck chose a brown hue to add to his whiskey glass. Zach smashed some dark brown glass in a large can that looked like a Costco sized soup can. After he cleaned off a section of the steel table, he spread out the shards of color.
 Zach prepared the bulb of molten glass by rolling it on the steel tabletop so we could add flecks of color to the design.
This is called the marver. The broken pieces of colored glass are called frit.
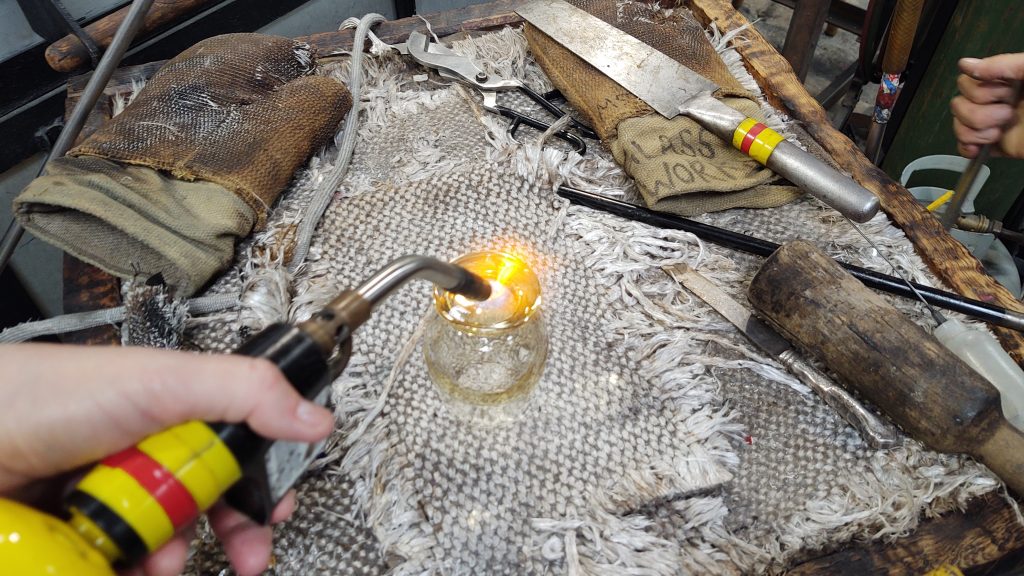
 Zach had heated the broken pieces on the table with a blow torch so they would adhere well.
Shaping
 With wet newspaper we guided the glass into an elongated shape.
Can you see the steam? It was hot!
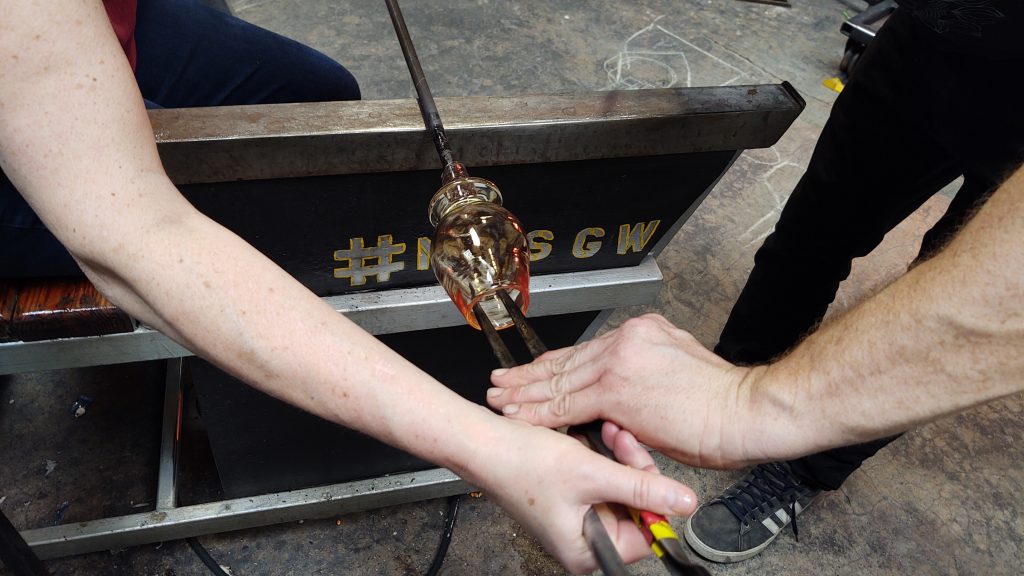
 Using a foot pedal, Chuck blew a quick puff of air into the tube creating the bubble inside.
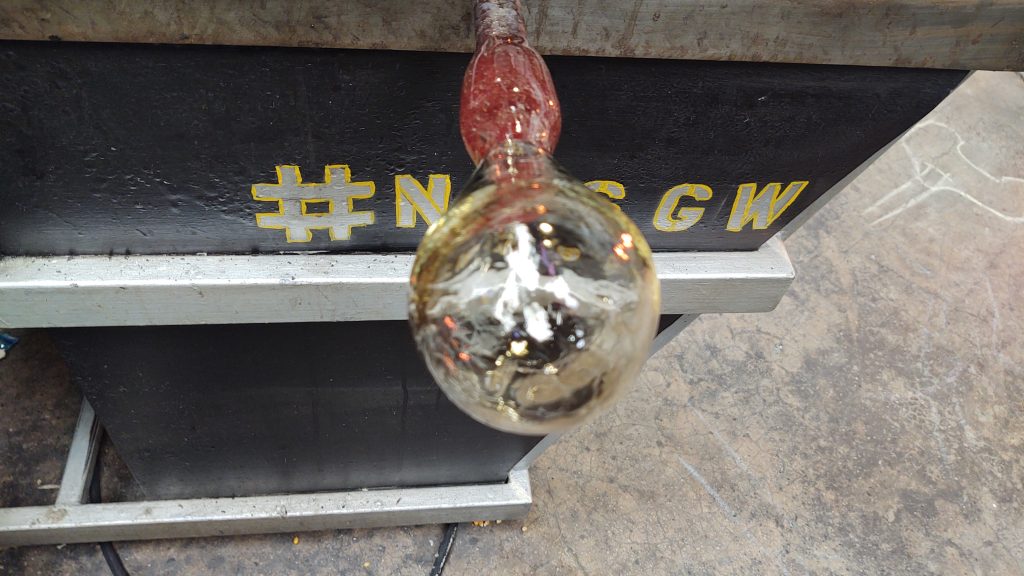 You can see the piece is already turning a yellowish color which shows it’s cooling and needs to be heated again.
Adding the Base
 Using the blow torch, Zach heated the steel table and blobbed molten glass onto the surface. This formed the “foot” of the cup.
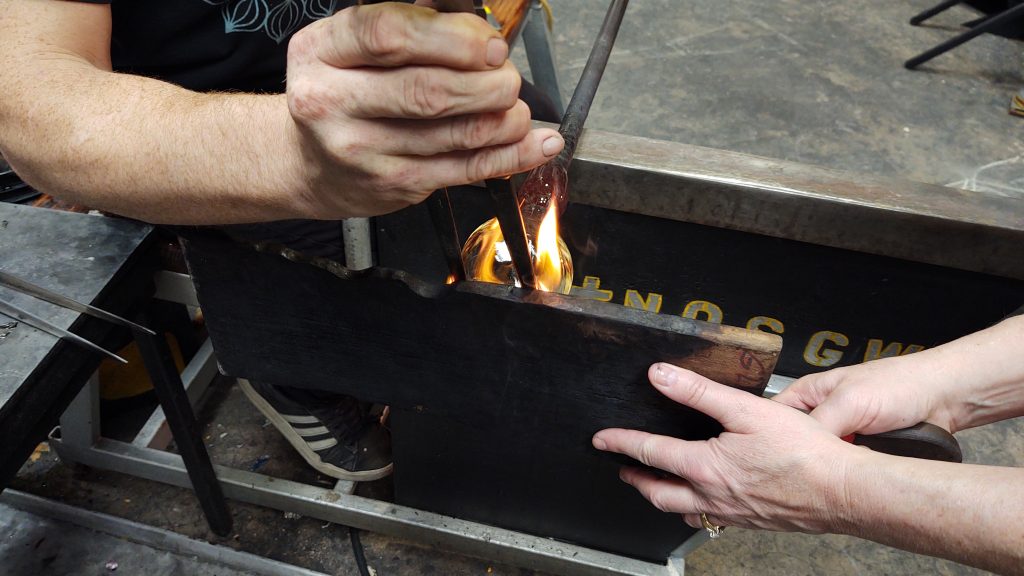 Flames danced as we rolled the cup on the rod while pressing the wooden board to flatten the base.
Transferring The Rod
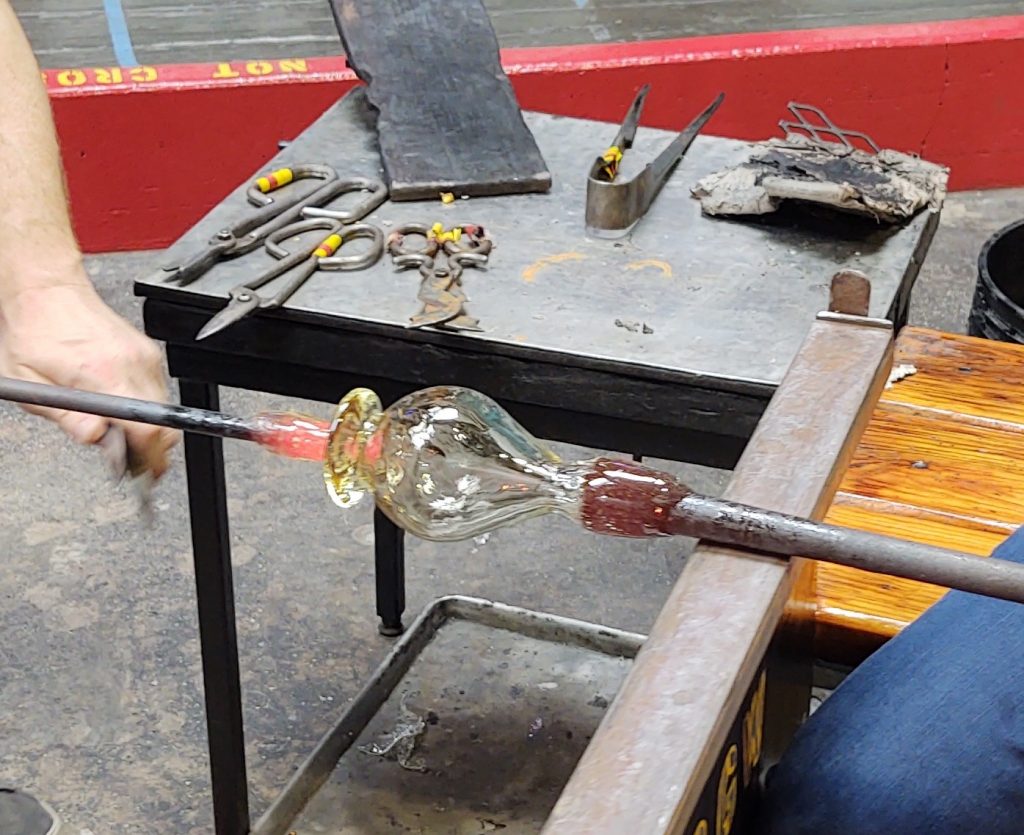 After the ‘foot’ of the cup was added, Zach transferred the project onto a new rod positioned at the bottom of the glass.
He ‘cracked off’ the rod at the top.
Opening the Top
With the wine glass transferred to a new rod at the bottom of the project, it was now time to start opening the top of the vessel, so it could eventually hold my favorite wine, Moscato.
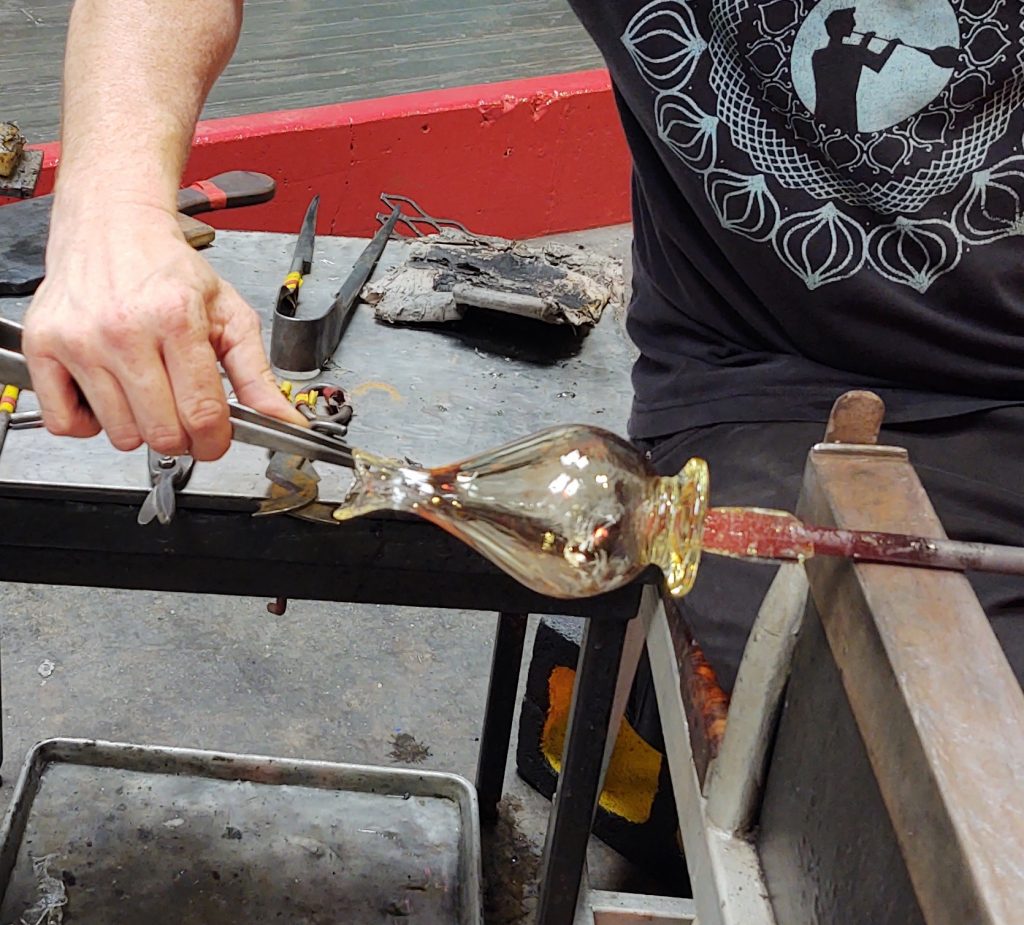 After heating the top of the cup, Zach gently pinched and pulled the soft substance. He repeated these steps several times while turning the rod.
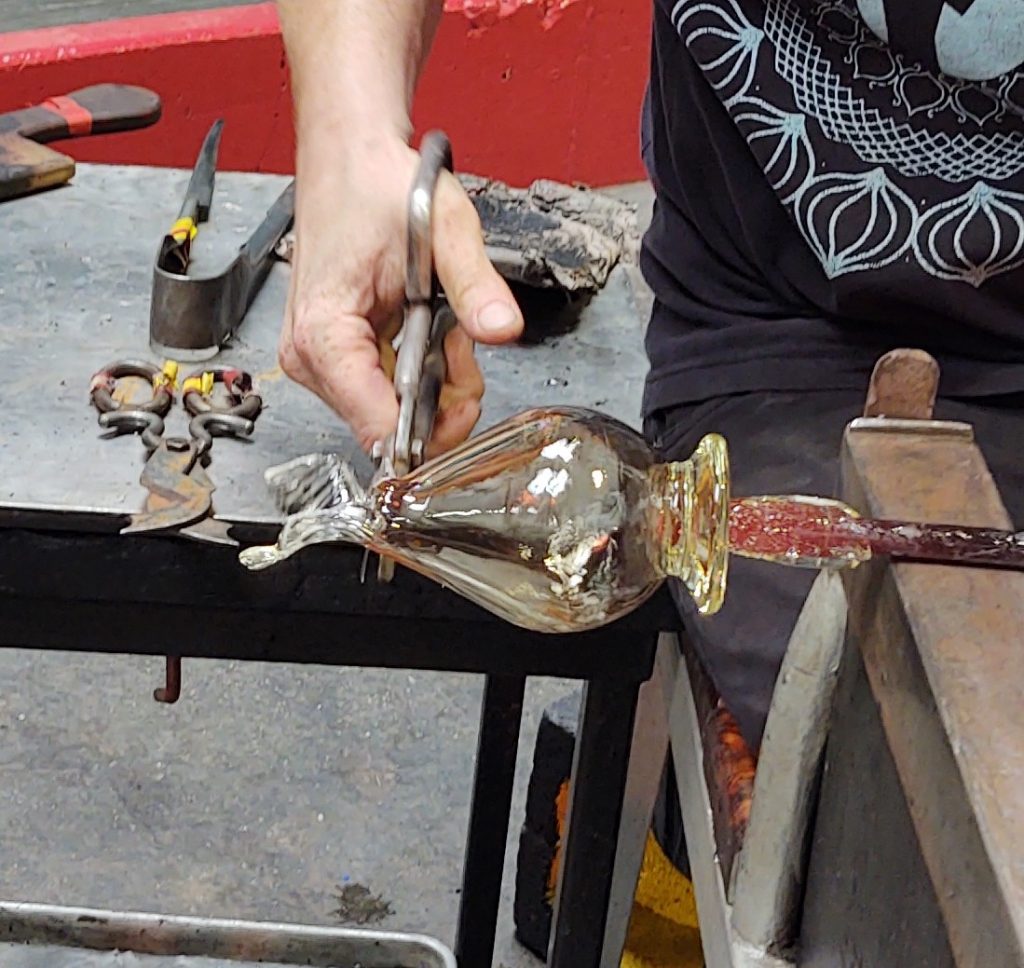 Using specialty shears, he cut away the ‘pulled’ glass to create the opening of the cup.
 We used this plier-type tool to ease the opening of the rim.
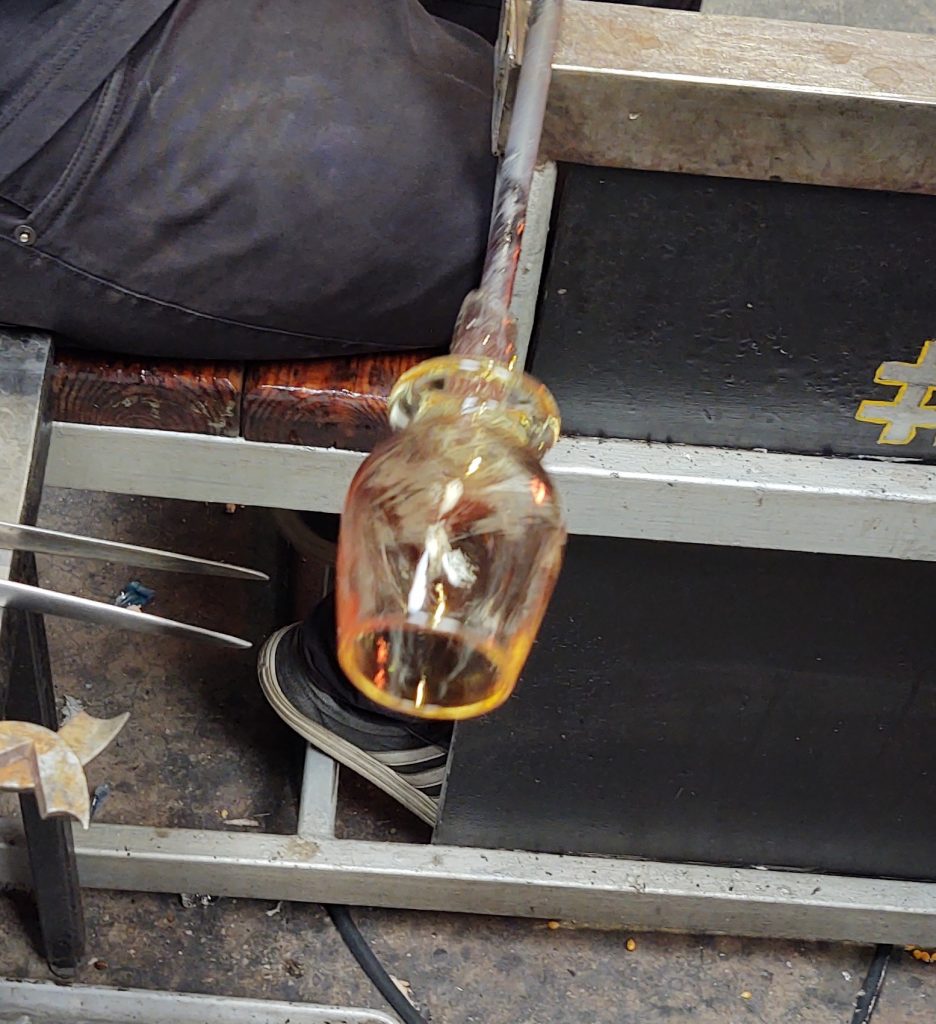 It looked like a perfect wine glass to me.
I was thrilled to see the wine glass take shape! It looked ready to use!
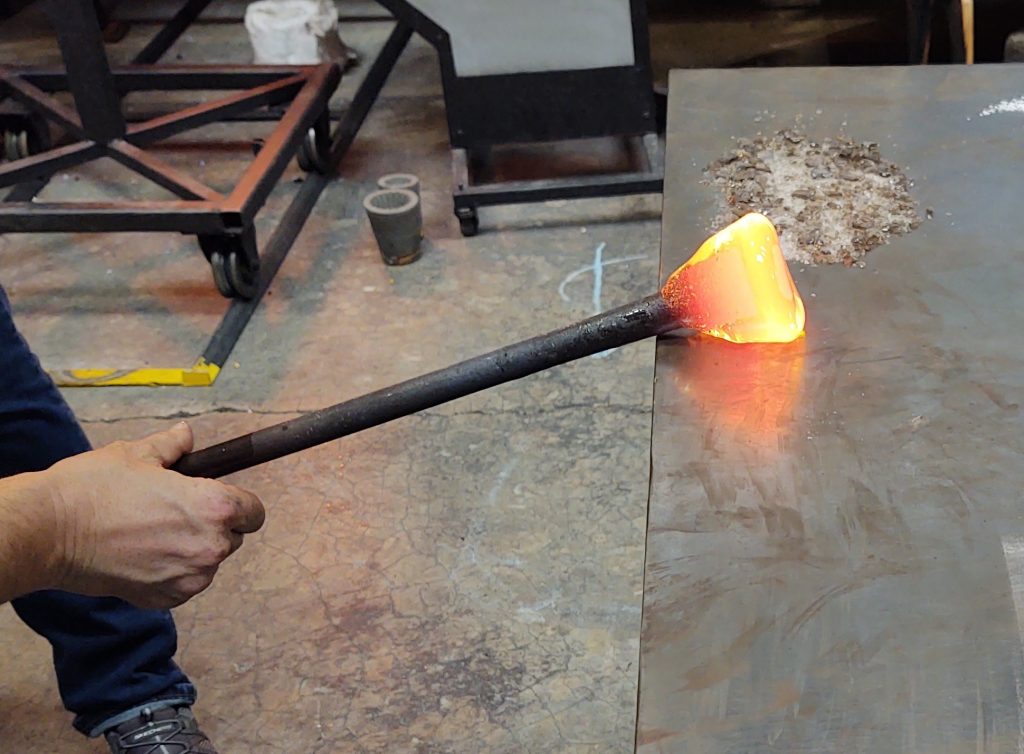
Cracking Off
I wondered about how we could get this creation off the rod safely without breaking it.
 The blow torch melts the shards of glass that remained from the rod.
With the blow torch poised I doused the base with heat. This softened the sharp pieces from the ‘cracking off.’ It created a ‘belly button’ on the bottom of my perfect wine glass.
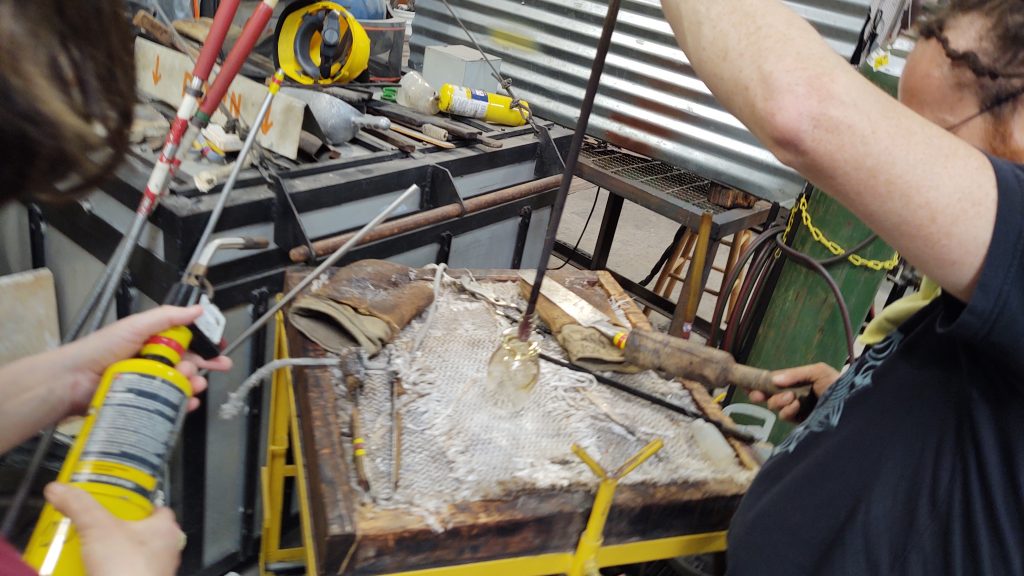
Cooling
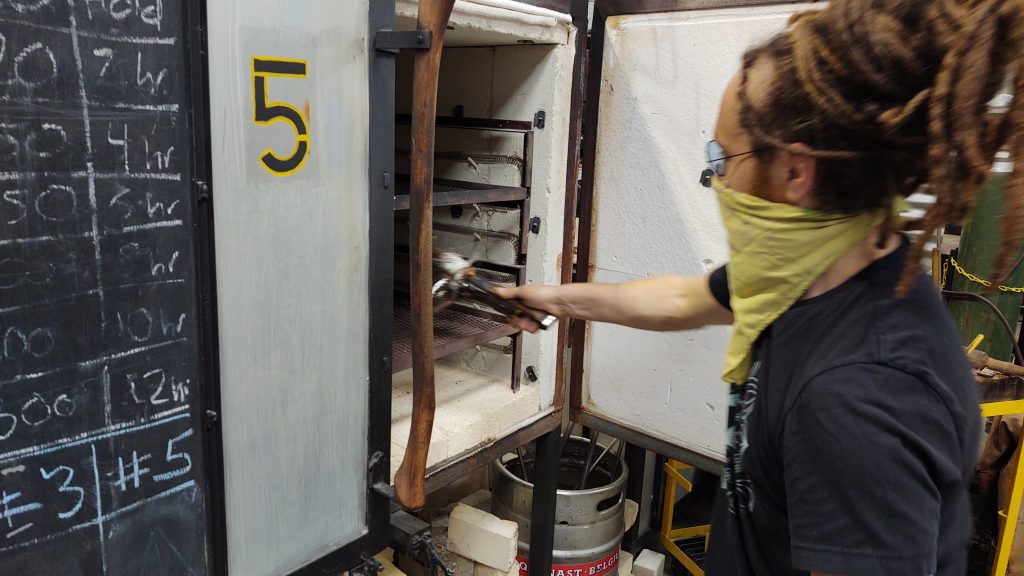 The process of cooling is called annealing.
Finally, the projects needed to cool. This lehr oven (or annealer oven) is set around 950 degrees Fahrenheit and gradually cools over 48 hours. This allows the glass to harden safely without cracking or breaking. Zach would mail the completed projects to us in a week.
Zach gave us an experience of a lifetime! We are indebted to him as well as Glassworks and Printing in New Orleans. Blowing our own glasses was a dream come true for me! The secret to blowing glass is to have a fine, talented instructor.
The Final Product
 Our favorite bar, Big Boiler Brewing in Lowell, Michigan houses our specialty glasses for us!
We regularly enjoy whiskey, wine and cocktails at our favorite local pub, Big Boiler Brewing. They keep our blown glass goblets in a place of honor behind the bar. They are there waiting for us . . . right now. . . gotta run!
In Kalamazoo, Michigan there are classes available for a glass blowing experience at Glass Art. https://glassartkalamazoo.org/glass-blowing-classes/
Chuck and Martha Hayden, aka The Viking and Poppins, enjoy going on adventures off the beaten path. They also like to share their explorations with others. The Viking is a retired expedition leader while Poppins is a retired teacher. The two offer independent views of their journeys showcasing places, people, and cultures as they explore the world. Visit and follow them on their website and social media accounts. Website | Facebook | Instagram |YouTube
Leave a Reply